Devices
Devices
Create, view and edit auto provisioned devices assigned to extension on your account.
Add Device
Create a new device to be assigned to an extension on your account. Choose from a list of provisioned devices and customize for your needs/
Manage Multiple
Edit the settings for multiples devices of the same model at once.
Backgrounds
Upload images to be used as a background on eligible provisioned devices.
- Yealink T38
- Yealink T46G/S
- Yealink T48G/S
- Yealink T54W
- Yealink T57W
- Yealink T58
Load image into Paint or a similar image editor (GIMP, PhotoShop, etc.) For this example I'm using IrfanView.
Press Ctrl+R to open the Resize/Resample Menu
Set the Resolution to the resolution found in the devices page, in this example with a T54W: 800x465@300dpi
Uncheck preserve aspect ratio, and set the DPI to the required number.
Ctrl+S to save, if required you can set the file size here to 5MB.
Right click the image, on properties>details and ensure the resolution and DPI are set as expected.
Add the image
On Prov (199.15.99.51) tail -f /var/log/xferlog | grep <MAC>
Reboot the device.
On prov - vi /var/log/xferlog
Hit / and search for the ID, for example from: Mar 26 12:56:40 prov vsftpd[669781]: [YT54W] OK DOWNLOAD: Client "72.24.29.244", "/44dbd253ce3b.cfg", 98609 bytes, 1062.47Kbyte/sec we will search with /669781.
Ensure the device jpg is downloaded. For example:Mar 26 12:56:40 prov vsftpd[669789]: [YT54W] OK DOWNLOAD: Client "72.24.29.244", "/4312f594-bca8-11ef-99d8-bc2411da959b.jpg", 23503 bytes, 455.12Kbyte/sec
Device Table
Choose what account changes and information requests users are authorized to make.
- UUID
- MAC
- Label
- Extension
- Server
- Brand
- Model
- Extra
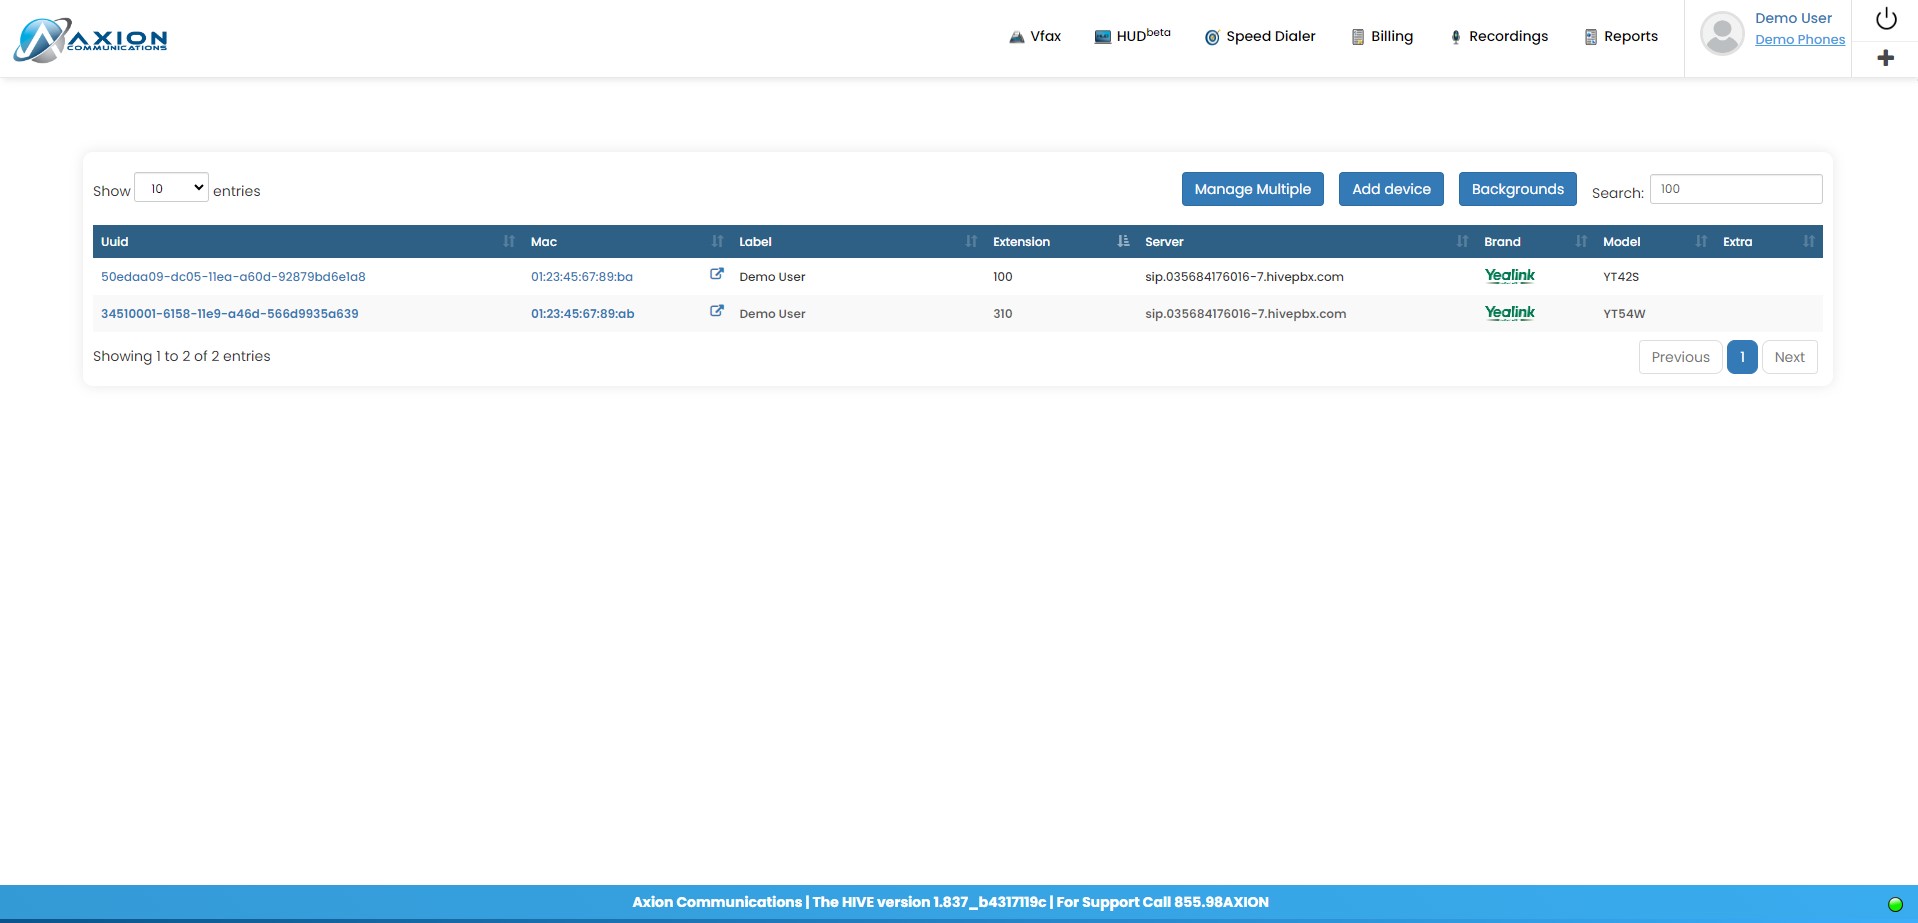
Figure 1: Device List
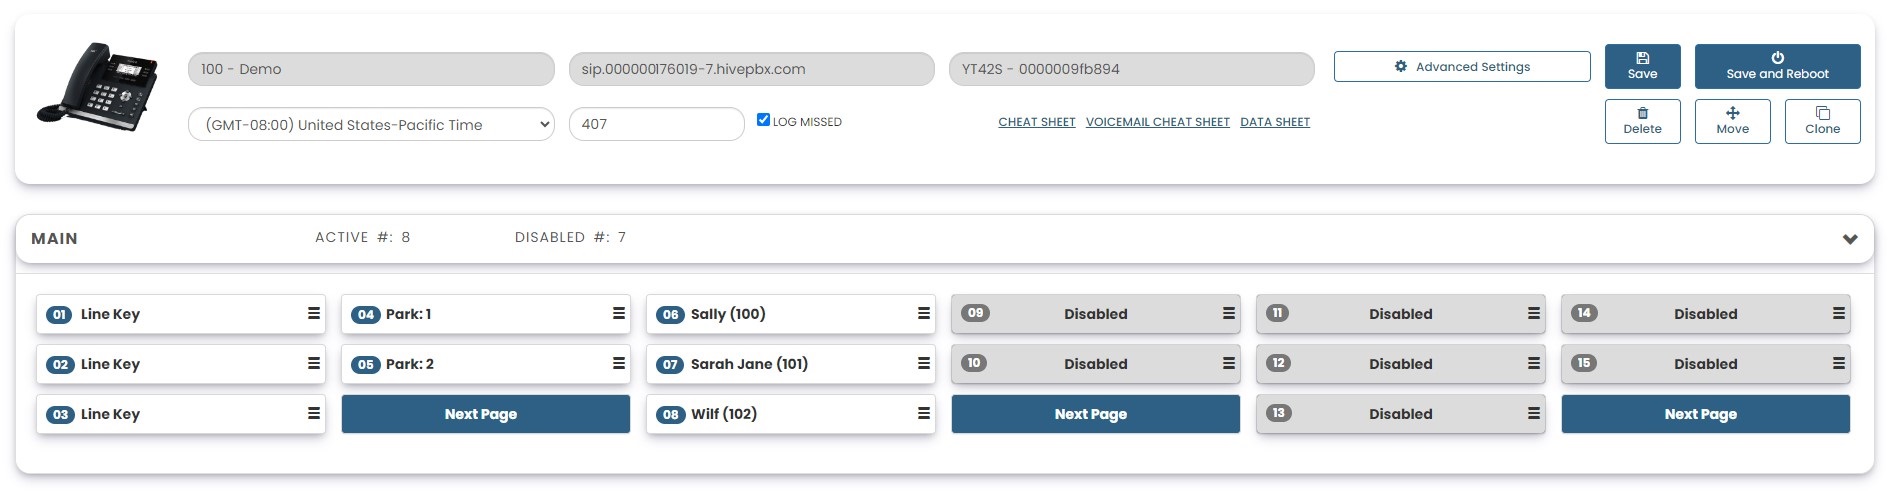
Figure 2: Yealink T42S Configuration Pagew